

Home composting is increasingly recognized as a sustainable practice that significantly contributes to environmental conservation. By transforming organic waste into nutrient-rich compost, individuals can reduce the amount of garbage that ends up in landfills, thereby minimizing greenhouse gas emissions and promoting a more circular economy. This process not only benefits the environment by reducing waste but also enhances the quality of soil, which is essential for healthy plant growth. The resulting compost serves as a natural fertilizer, enriching the soil with vital nutrients and improving its structure, leading to stronger and more resilient plants. Moreover, engaging in home composting allows individuals to take an active role in closing the food loop, fostering a deeper connection with their food sources and the environment.
In the Caribbean context, home composting can be particularly beneficial due to the region’s rich biodiversity and agricultural heritage. By adopting simple, low-stress composting methods that align with local practices and climate conditions, individuals can effectively manage their kitchen and garden waste while contributing to the health of their local ecosystems. I will guide you through a straightforward approach to home composting that is tailored to the Caribbean lifestyle, ensuring that it remains accessible and manageable for everyone. With the right techniques, anyone can embark on this rewarding journey, transforming organic waste into a valuable resource that supports both personal gardening efforts and broader environmental goals. Embracing home composting is not only a practical decision but also a meaningful step towards fostering sustainability within our communities.
🌿 What Composting Really Is (Plain Talk)
Composting = letting food scraps + yard waste break down naturally into black, crumbly soil food using air, moisture, and microbes.
Think of it as controlled rotting done right. Here are steps for composting.
Step 1: Choose Your Compost Style
Pick what fits your space and effort level:
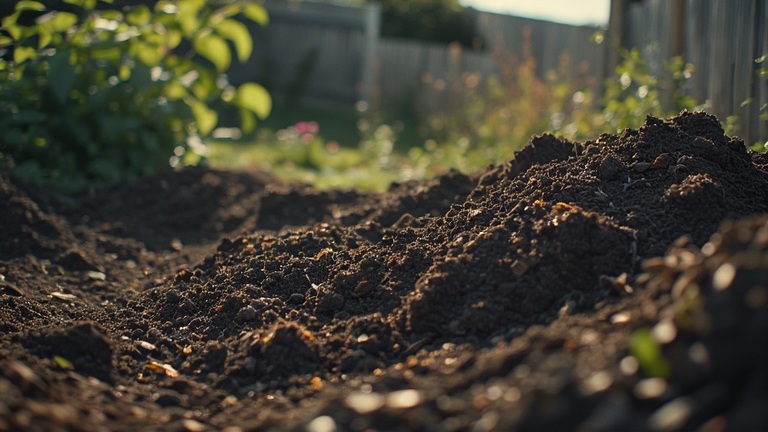
Option A — Open Pile (Easiest)
- Just a heap in the yard
- Cheapest
- Needs occasional turning
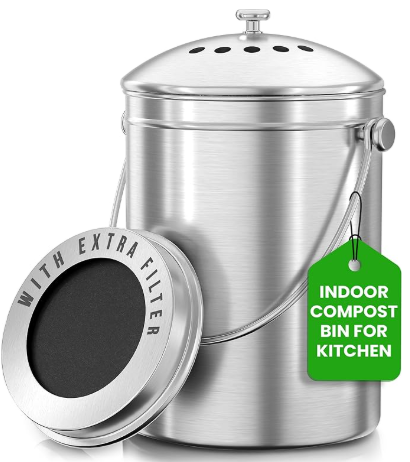
Option B — Compost Bin (Best balance)
- Plastic or wooden bin
- Neater, fewer pests
- Ideal for most homes
- size guide: 1-2 people in household, 30 to 40 gal; 3-5 people, 50-55 gal; heavy cooking, 2 bins (active + resting)
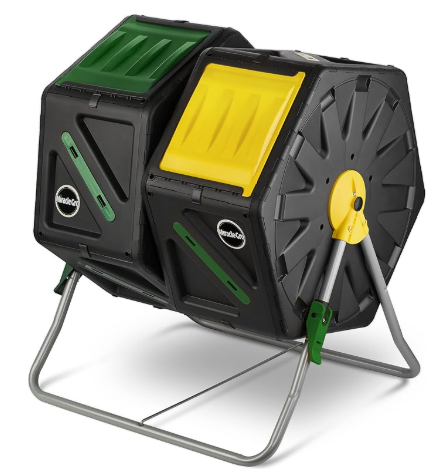
👉 My honest recommendation: A simple bin or covered pile in a shady corner.
You can also build your own compost bin.
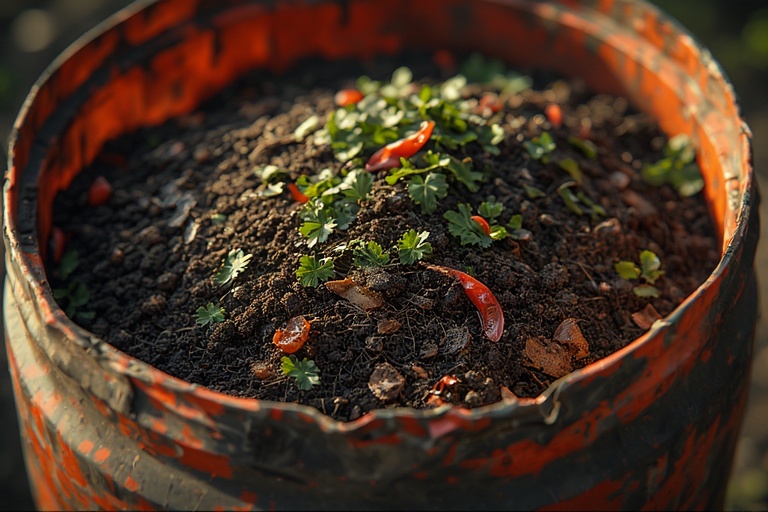
Option 1: Plastic Barrel / Tote Bin (Best Overall)
What You Need
- 1 plastic barrel or heavy-duty tote (30–55 gal)
- Drill + ¼–½ inch drill bit
- Piece of mesh or old window screen
- Zip ties or wire
- Bricks or blocks (optional)
- Lid (important)
Step-by-Step Build
1. Drill Air Holes
- Drill holes on all sides
- Space them 4–6 inches apart
- Drill a few holes near the bottom (drainage)
👉 Air = no smell.
2. Add Mesh Inside (Pest Control)
- Line the inside walls where holes are
- Secure mesh with zip ties or wire
👉 Keeps rats, mice, and lizards out.
3. Elevate Slightly (Optional but Smart)
- Place bin on bricks or blocks
- Allows excess water to drain
- Prevents rot and ants nesting
4. Start Composting
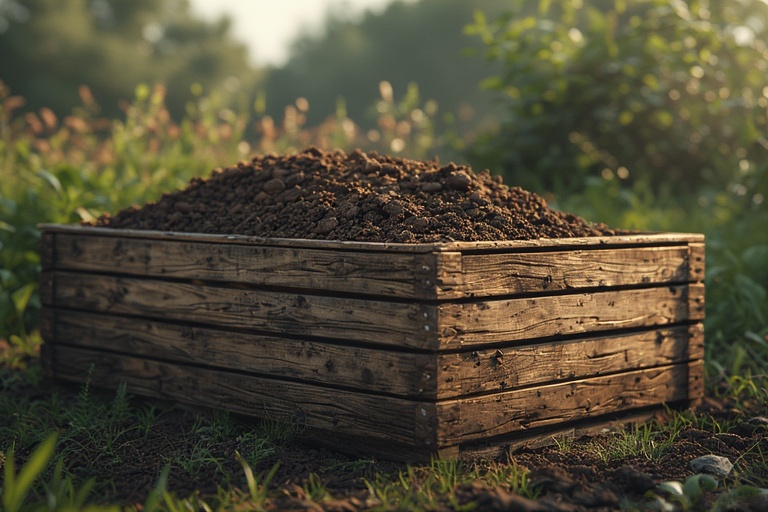
Option 2: Wooden Slat Bin (Yard-Friendly)
Materials
- 4 wooden pallets or
- Pressure-treated lumber
- Screws
- Chicken wire
Design Rules
Front panel removable for harvesting
🐜 Common Mistakes (Avoid These)
- Too many food scraps without browns
- Bin in full sun
- No drainage holes
- Adding meat or oily food
- Never turning it
When Is It Ready?
- Dark, crumbly
- Smells like forest soil
- No visible scraps
Start composting
Step 2: Know What Goes In (This Matters)
Compost works on balance, not perfection.
✅ GREENS (Nitrogen – “Wet”)
- Fruit & veggie scraps
- Coffee grounds & filters
- Fresh grass clippings
- Crushed eggshells
🍂 BROWNS (Carbon – “Dry”)
- Dry leaves
- Shredded cardboard
- Paper (non-glossy)
- Coconut husk fiber, sawdust (small amounts)
Golden Rule: 2 parts brown : 1 part green
❌ Prohibited Items for Composting
- Meat, fish, and bones
- Dairy products
- Greasy or oily foods
- Animal waste
- Highly seasoned cooked dishes
(These materials can attract pests and generate unpleasant odors.)
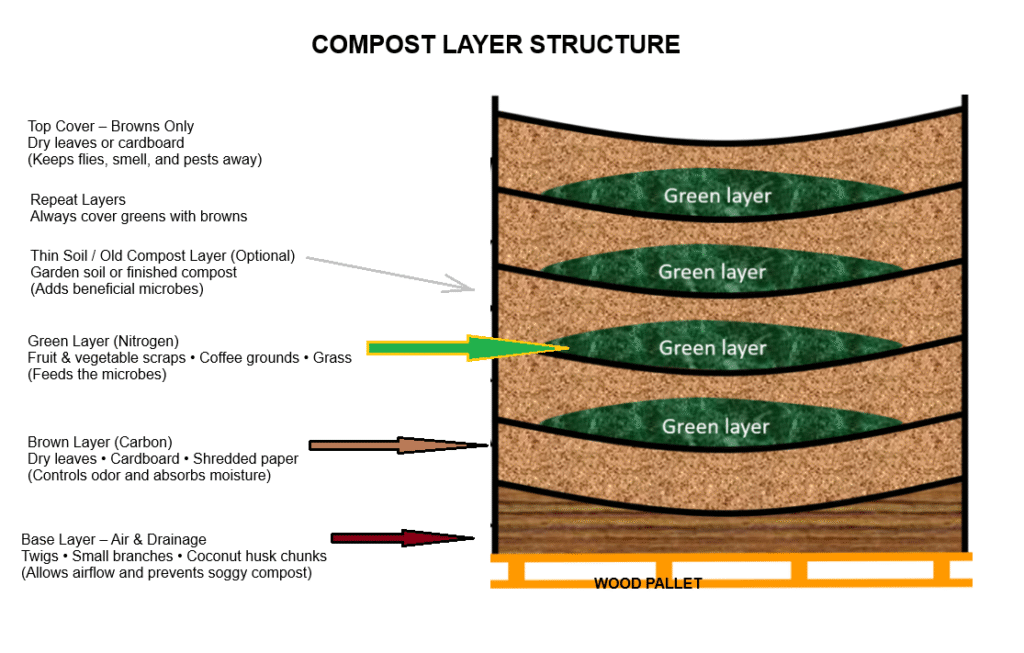
Step 3: Build Your Compost (Layering Method)
- Bottom: Twigs or coarse material (airflow)
- Layer greens
- Cover with browns
- Repeat
- Lightly moisten (like a wrung-out sponge)
Step 4: Maintain It (Very Simple)
- Turn it every 1–2 weeks (pitchfork or stick)
- If it smells → add browns
- If it’s dry → add water
- If nothing’s happening → add greens
🪱 Worms appearing = you’re doing it right
How Long Before Compost Is Ready?
Finished compost is a rich, dark brown to black material that signifies the successful decomposition of organic matter. As the composting process comes to an end, the transformation of kitchen scraps and yard waste is evident in the final product. One of the most distinguishing features of finished compost is its earthy smell, which is a result of beneficial microbes breaking down the materials into nutrient-rich compost. This pleasant aroma indicates that the compost is ready for use in enriching soil and supporting plant growth. Additionally, a key characteristic of quality compost is the absence of any visible food scraps or recognizable organic materials. Instead, it boasts a uniform texture, making it an ideal amendment for gardens and landscaping. The combination of its dark color, earthy scent, and lack of identifiable waste signals that the compost is not only safe but also beneficial for enhancing soil structure and fertility.
Compost is ready.
- Hot compost (turned often): 6–8 weeks
- Lazy compost: 3–6 months
Finished compost looks like:
✔ Dark brown/black
✔ Earthy smell
✔ No visible food scraps
Want Faster Compost?
Add one or more:
- A handful of finished compost
- A shovel of garden soil
- Crushed eggshells
- Coffee grounds
- A little wood ash (small amount)
How to Use Your Compost
Composting is a sustainable practice that not only reduces waste but also enriches soil health, and utilizing your compost effectively is key to maximizing its benefits. One of the most effective ways to incorporate compost into your gardening routine is by mixing it directly into garden beds. This method enhances soil structure, improves moisture retention, and introduces beneficial microorganisms that contribute to a thriving ecosystem. By tilling in compost, you can create a nutrient-rich environment that supports robust plant growth, encourages root development, and improves overall yield. It is advisable to mix in compost in the spring or fall, allowing it to integrate with the existing soil and providing plants with a steady supply of nutrients throughout their growing season.
Another beneficial application of compost is as a top-dressing around established trees and shrubs. By spreading a layer of compost on the surface of the soil, you not only provide an immediate nutrient boost but also help suppress weeds and retain moisture during the hotter months. This method is particularly advantageous for perennial plants that may require a slower release of nutrients over time. Additionally, incorporating compost into potting soil at a ratio of 30–40% can enhance the growth potential of container plants, as it increases aeration and improves drainage while providing essential nutrients. Lastly, when used lightly, compost can also serve as an effective top-dressing for lawns, promoting a lush, green appearance while ensuring that grassroots receive the necessary nourishment without the risk of chemical overload. By strategically using compost in these various applications, you can significantly enhance the health and vitality of your plants while contributing to a more sustainable gardening practice.
Caribbean-Specific Tips (Important)
In warm and humid climates, composting presents a unique set of advantages and challenges. The elevated temperatures and moisture levels contribute to a faster decomposition process for organic materials, allowing compost to mature more quickly than in cooler, drier regions. To optimize this natural acceleration, it is essential to cover food scraps with a layer of brown materials, such as dried leaves or cardboard. This practice not only helps in balancing the carbon-to-nitrogen ratio but also minimizes odors that can attract unwanted pests.
Additionally, keeping the compost bin shaded is critical, as exposure to direct sunlight can dry out the materials, hindering the decomposition process. During the rainy season, incorporating dry leaves into the mix serves to absorb excess moisture, ensuring that the compost remains aerated and well-structured.
To safeguard your compost from potential rodent infestations, utilizing mesh or covered bins is highly recommended. These barriers effectively deter rats and other pests that may be attracted to the organic waste. Furthermore, incorporating local materials such as banana leaves, coconut husks, and breadfruit leaves can significantly enhance the quality of your brown materials.
These resources are not only abundant in many tropical regions but also serve as excellent bulking agents that aid aeration within the compost. By following these best practices tailored for warm, humid climates, you can create a thriving compost system that efficiently transforms organic waste into nutrient-rich soil amendments, fostering healthier gardens and contributing to sustainable waste management.
Want to Go One Level Higher? (Optional upgrades)
- Start worm composting (vermicompost) indoors
- Add crushed charcoal (biochar)
- Use compost tea for plants
In conclusion, home composting presents a sustainable solution for waste management while enriching garden soil and promoting environmental health. By transforming kitchen scraps and yard waste into nutrient-rich compost, individuals not only reduce their ecological footprint but also foster a deeper connection with the natural world. As we embrace composting practices, we empower ourselves to contribute to a circular economy, where organic materials are recycled and utilized effectively. With a little knowledge and commitment, anyone can embark on this rewarding journey, turning waste into a valuable resource for both plants and the planet.